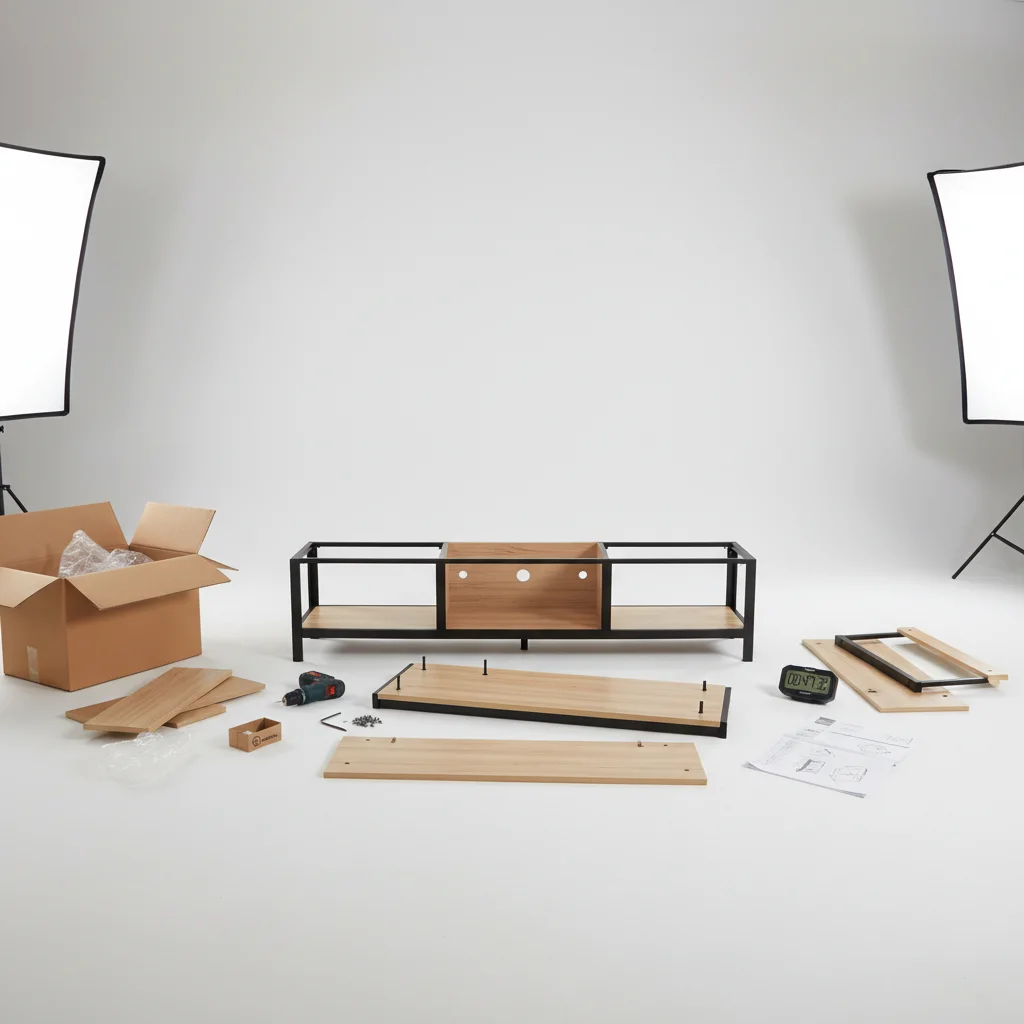
Assembling a TV stand can range from a quick 30-minute task to a more involved 3-hour project, depending on the complexity of the design and your DIY experience. Most standard TV stands with basic shelving and a few panels can be put together in about an hour and a half. However, models with multiple drawers, intricate joinery, or integrated features like fireplaces or mounts will naturally require more time and patience.
Factors Influencing Assembly Time
Several elements contribute to how long it takes to assemble a TV stand. The number of parts is a primary factor; more components mean more steps. The clarity and detail of the instructions also play a significant role. Poorly written or illustrated manuals can add considerable frustration and time to the process. Furthermore, the type of fasteners used, such as cam locks, screws, or dowels, can impact the speed of assembly. Some require more precision or specific tools.
Tools You’ll Need for TV Stand Assembly
Having the right tools on hand before you start can drastically reduce assembly time and prevent headaches. While most TV stands come with a basic Allen wrench, you’ll often benefit from a few additional items. A Phillips head screwdriver is almost always necessary, and a rubber mallet can be useful for gently tapping in dowels or panels. For larger or more complex units, a power drill with appropriate bits can speed up the process, but always use it on a low torque setting to avoid stripping screws or damaging the material. A tape measure can also be helpful for verifying dimensions during certain steps.
- Phillips head screwdriver
- Rubber mallet
- Small level
- Tape measure
- Power drill (optional, with caution)
Tips for Efficient Assembly
|
Our Picks for the Best TV Stand in 2026
As an Amazon Associate I earn from qualifying purchases.
|
||
| Num | Product | Action |
|---|---|---|
| 1 | Furologee TV Stand for TVs up to 55 Inch, Entertainment Center with Open Storage Shelves, Media Console Table with Soundbar Shelf for Living Room, Bedroom, Rustic Brown |

|
| 2 | 23 Inch to 50 Inch Floor Small Corner TV Stand with Storage Shelves for Living Room Bedroom, Universal Floor Television Stands with Mount, Rustic Brown Corner TV Table Desk Shelf for Small Space |
|
| 3 | HOOBRO TV Stand with Charging Station to 55 Inches, LED Entertainment Center, Media TV Console Table with Open Storage Shelving for Living Room, Bedroom, Black BB122UDDS01 |
|
| 4 | TV Stand for TVs up to 55", Entertainment Center with 2 Fabric Drawer, Media Console with Shelves, Television Stands for Living Room, Bedroom, Black DS02BB |
|
| 5 | Furinno Sully 3-Tier Stand for TV up to 40, Espresso/Black |
|
| 6 | WALI Floor TV Stand with Power Outlet, Tall TV Stand Mount for 32-75 inch TV up to 110 lbs, Swivel and Height Adjustable TV Stands with Wood Base for Bedroom, Office(TVDVD-7P), Black |
|
| 7 | PERLESMITH Universal Swivel TV Stand for 24-60 inch TVs up to 99 lbs, 12 Height Adjustable Table Top TV Stand, TV Base Stand with Tempered Glass Base, Max VESA 400x400mm, PSTVS33 |
|
| 8 | HOOBRO TV Stand with Power Outlets to 65 Inches, TV Console Table with Open Storage Shelves, Industrial Media Entertainment Center for Living Room Bedroom, Rustic Brown and Black BF40DS01 |
|
| 9 | YGEOMER Entertainment Center for Up to 55 Inch TVs, TV Stand with Power Outlet and Open Storage Shelves, TV Media Console Table for Living Room and Bedroom, Black |
|
| 10 | HOOBRO LED TV Stand with Power Outlets to 65 inch TV, Gaming Entertainment Center with Glass Shelves and Large Drawer, Modern Media TV Console Table for Living Room Bedroom, White WT14UDDS01 |
|
To make your TV stand assembly as smooth and quick as possible, start by organizing all the parts and hardware. Lay everything out on a clean, flat surface, ideally on a blanket or cardboard to protect your flooring and the furniture pieces. Group similar screws and dowels together. Read through the entire instruction manual once before you begin to get a full overview of the steps. If you’re assembling with a partner, divide tasks to work more efficiently. Don’t overtighten screws, especially on particle board, as this can damage the material.
Common Assembly Challenges and Solutions
Even with careful planning, you might encounter challenges during assembly. Misaligned holes are a common issue; sometimes, a slight adjustment or gentle pressure can help. If a screw isn’t catching, ensure you’re using the correct screw for that specific hole. Stripped screws can be frustrating; try using a slightly larger screw or a wood filler if the hole is too damaged. If you find a piece is missing, stop and contact the manufacturer immediately to request a replacement. Attempting to force ill-fitting parts can lead to damage and instability. Always double-check that all connections are secure before placing your TV on the stand.
Post-Assembly Checks for Stability and Safety
Once your TV stand is fully assembled, it’s crucial to perform a few final checks to ensure it’s stable and safe for your television. Gently rock the stand from side to side to check for any wobbles. If it’s unstable, re-examine the connections and ensure all screws are tightened appropriately. Use a level to confirm the top surface is perfectly flat; this is essential for the safety of your TV. If your stand includes anti-tip hardware, install it according to the instructions, especially if you have children or pets. Proper assembly and these final checks will ensure your TV stand provides a secure foundation for your entertainment setup for years to come.
